Simple crafts

Bookmark crafts with coloring pages

A finished coloring page can have a second life. Turning drawings into bookmarks is an easy, useful craft that works well at home, in class, or as a quiet follow-up to coloring time.

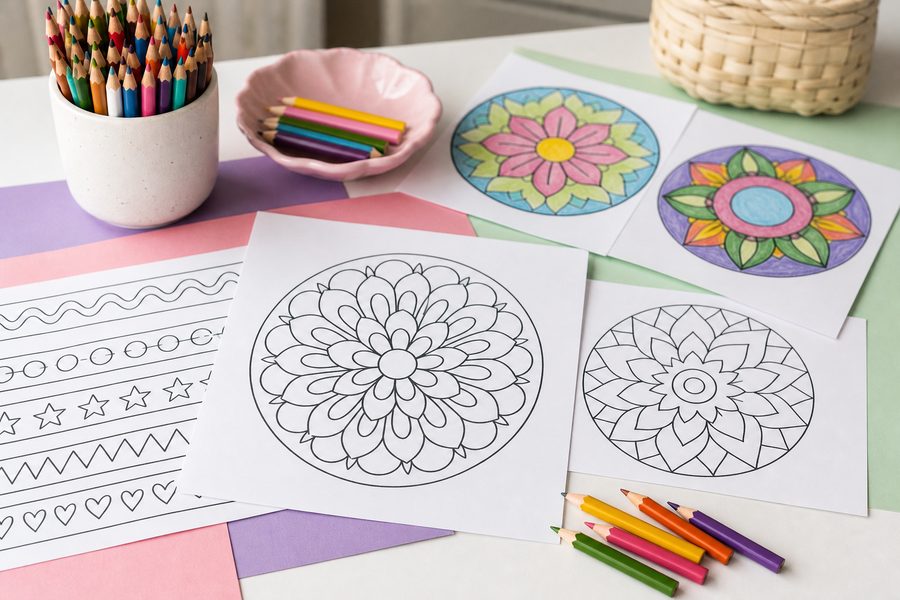
Bookmarks made from coloring pages with pencils and craft materials on a table
Small cut-outs from a colored page can become useful and decorative reading accessories.

Bookmark crafts with coloring pages are a simple way to use finished drawings for something practical. Instead of ending with the coloring session, the page becomes part of a calm and useful craft activity.

This works especially well because the materials stay basic and the result is easy to personalize.

Basic materials to get started

You only need colored pages, card, glue, pencils, a ruler, and supervised scissors. If younger children are taking part, it helps for an adult to prepare the main cuts and leave the decorating stage to them.

There is no need for many extra decorations. A nice drawing, a colored border, and perhaps a ribbon are often enough.

What kind of drawings work best

Clear figures are usually the easiest to cut and reuse: animals, large flowers, stars, castles, or other bold page elements. If the original page has many details, you can simply select one strong section.

Animals, flowers, and fantasy shapes are all reliable options. For more theme ideas, you can also browse animal coloring pages or fantasy coloring pages.

Simple steps for making bookmarks

  1. Color the page and let it dry if markers were used.
  2. Cut a strip of card to the desired size.
  3. Glue the chosen drawing or cut-out onto the top area.
  4. Add a border or a few small details.
  5. Let it dry before using it in a book.

If you want a sturdier result, glue a second piece of card on the back. That gives the bookmark more firmness without needing special materials.

How to decorate without overloading it

Simple crafts usually look better when they are not overcrowded. You can choose two main colors and repeat them in the border, the background, or a small accent to give the bookmark a more unified look.

It can also be fun to make small themed sets: animals, flowers, fantasy, or seasonal shapes.

Ideas for home and classroom use

In class, bookmarks can fit naturally into a reading corner. At home, they can be a short follow-up activity after coloring. They also work well as keepsakes from pages that turned out especially nicely.

Helpful idea

Keep a small box of attractive cut-outs from finished pages. They can later become bookmarks, cards, or other simple crafts.

With only a few materials, coloring pages can become a craft that is practical, decorative, and easy to personalize.

Frequently asked questions

FAQ about bookmark crafts with coloring pages

What drawings work best for making bookmarks?

Clear figures such as animals, flowers, stars, castles, or other large page elements usually work best.

What materials do I need?

Card, finished coloring pages, glue, pencils, and supervised scissors are usually enough.

Can this be done in class?

Yes. It works well when card strips and a small selection of cut-out-friendly pages are prepared in advance.

Questions readers often ask

Questions readers often ask

Yes. Start with a simple page for younger children, then invite older children to add a background, a short story or more detailed colour choices.

Can this idea work for different ages?

Yes. Start with a simple page for younger children, then invite older children to add a background, a short story or more detailed colour choices.

Which materials are most practical?

Coloured pencils, crayons and washable markers are all good options. Keep the materials simple so children can focus on the activity rather than preparation.

Can I use this activity in a classroom?

Yes. It works for individual work, small groups, early finishers and display projects. A shared theme can also help connect several finished drawings.

How long should a colouring activity last?

A short ten-minute session is useful for a calm break, while a longer session can include printing, storytelling and displaying the final work. Follow the child’s interest.

What can we do with finished pages?

Keep them in a creative folder, make a classroom mural, give them as a small gift or use them as the start of a homemade storybook.